Test procedure
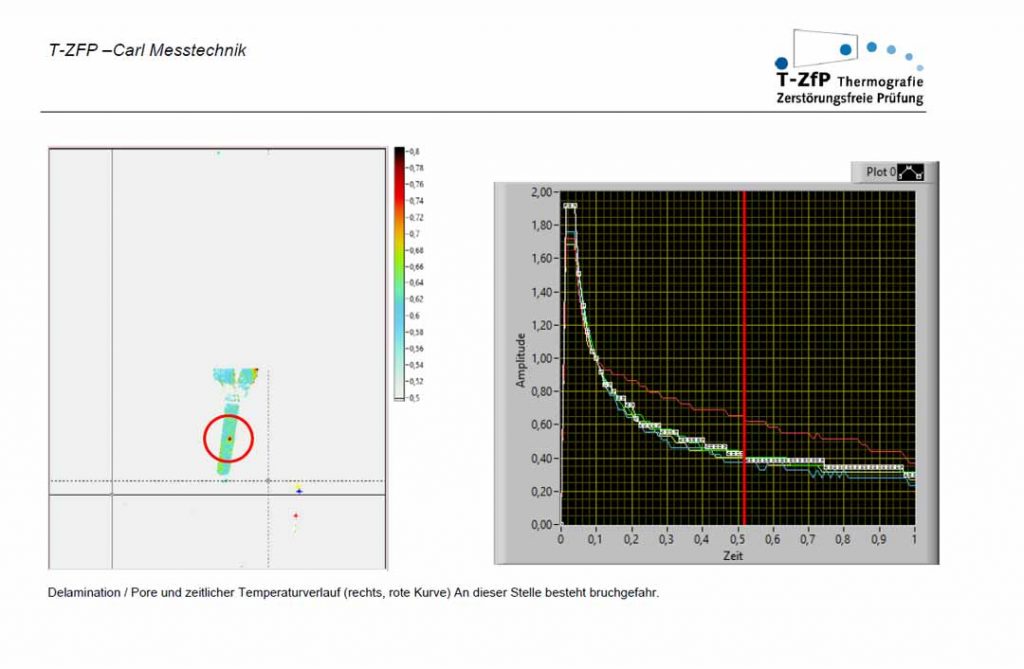
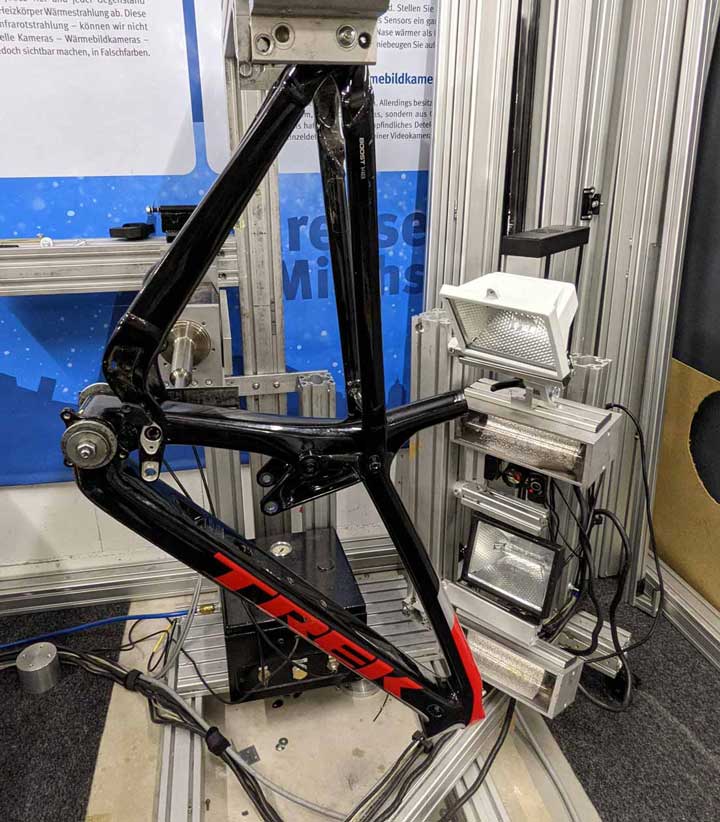
Active thermography has been used successfully for around 15 years in the aerospace sector for non-destructive and imaging testing of anisotropic lightweight structures and metallic engine parts. The principle of the test method is based on the measurement of an artificially generated heat flow into the component, which is disturbed in the area of defects and shows thermal reactions on the sample surface.
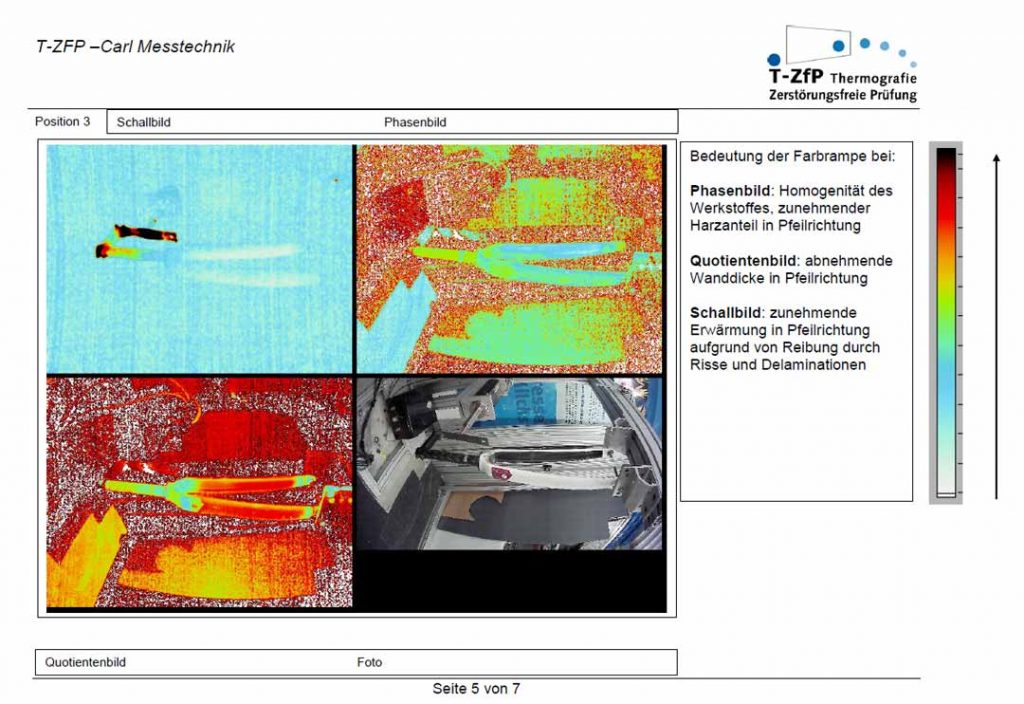
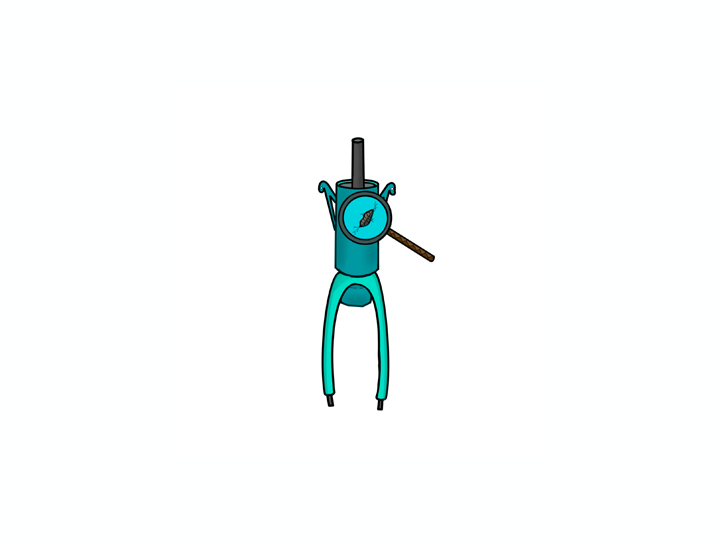
With this excitation, ultrasound is introduced into the frame to create high-frequency vibrations. In the area of damage, e.g. due to a crack or an adjacent delamination, heat is generated due to the damping in this area, which is detected with the high-resolution camera. Errors that cannot be found with impulse excitation can be detected with this method and vice versa. An error interpretation is very well possible by combining both methods.
